
A couple of posts ago, I described how fiberglass boats are built. Now that we know that, we can talk about how to repair them-and specifically ours. First, as we discussed, our boat has holes. Lots and lots of holes: fastener holes, portlights, hatches. You name it, we’ve got a hole for it. And holes have the potential to leak. A LOT of our holes leak. Meraviglia has 14 portlights. To date, we’ve removed 7 of them because they leak. She has 8 hatches. We’ve removed 3 of those-because they leak. And these leaks don’t just mean water gets into our living space inside. It means water also gets into the foam that sits between the two fiberglass layers and destroys that. And it rots the wood that makes up the interior of our boat. When Meraviglia was built, teak was the primary material used to build out the interior of boats. We have a LOT of teak inside. Teak is rot-resistant, which is great. But we also have a lot of plywood with teak veneer. That is not so rot-resistant. So, not only do we have to remove and reinstall the leaky portlights and hatches, we also have to remove the rotted bits and rebuild those-FUN!
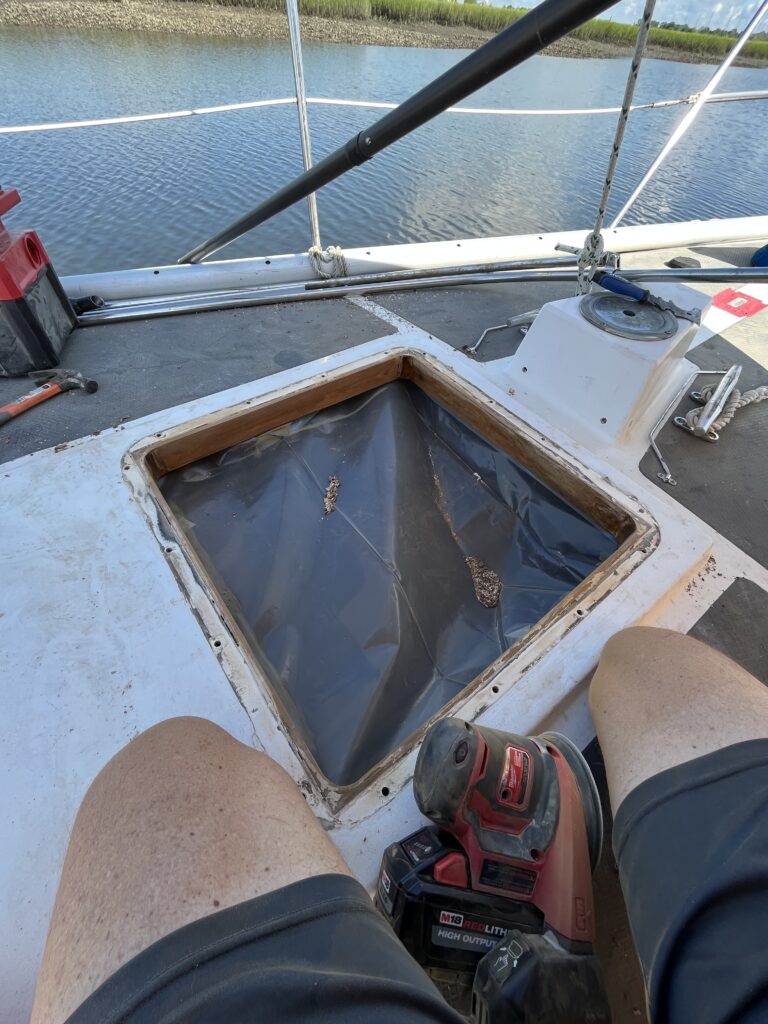
Here’s what we do: first we remove the hatch or portlight. That means dealing with a LOT of old adhesive, which is not so fun but generally not terrible. UNLESS some genius used the wrong adhesive. There are many different marine adhesives, but the infamous one is 3M 5200. It is designed to be used for things that NEVER EVER COME APART. EVER! Like when they build a boat and attach the deck to the hull. They use 5200. Should it be used for portlights? NO! Did some prior owner use it for portlights? YES! Mental note: “I don’t want this to leak.” is not the same as “I don’t want to ever take this out again.” They are different things. Many power tools and saw blades later, the portlights were out.
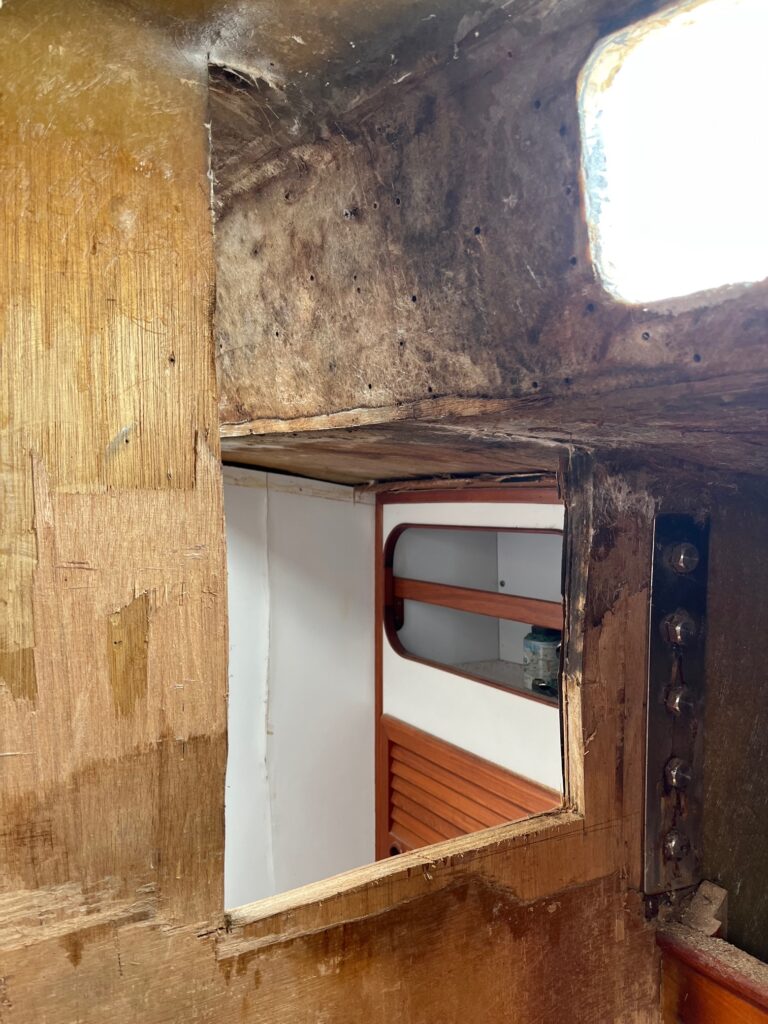
Then, we remove any rotted interior plywood/veneer. Then we take a look at the foam layer between the fiberglass layers in our composite. If it’s rotted, we remove it. If it’s wet, we dry it out (acetone works great for this. We pour it into the foam layer and it displaces the water and then evaporates.).
Next up: rebuild the structure. We used closed-cell foam insulation from Home Depot to replace the foam core. Where we had to remove the interior veneer, we replaced it with plywood. Trying to match the teak veneer was a bridge too far for us. We decided to fair the replacement pieces into the existing pieces, sand the whole thing, and then paint it all white with epoxy paint. Not only is it easier and cheaper, but it will brighten up the interior.
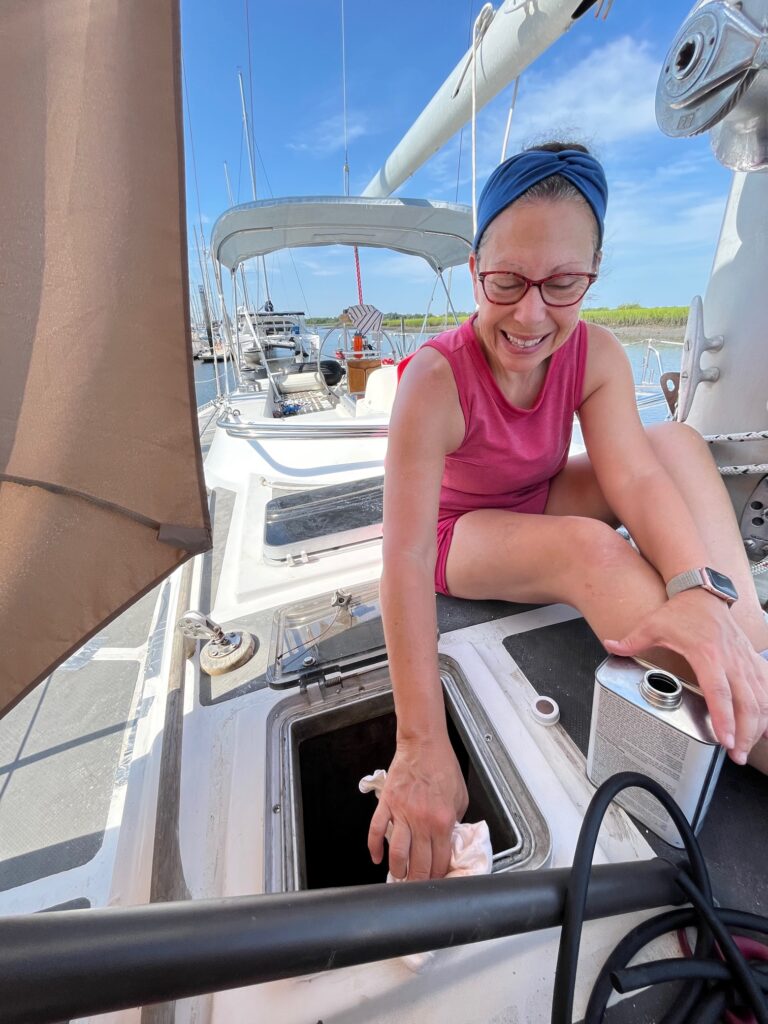
Finally, we will reinstall the portlights (NOT using 5200!). We haven’t quite gotten there as of the day of this post, but we’re close. We have managed to remove and reinstall the three hatches, though. THEY DON’T LEAK!! Insert cheering here please.
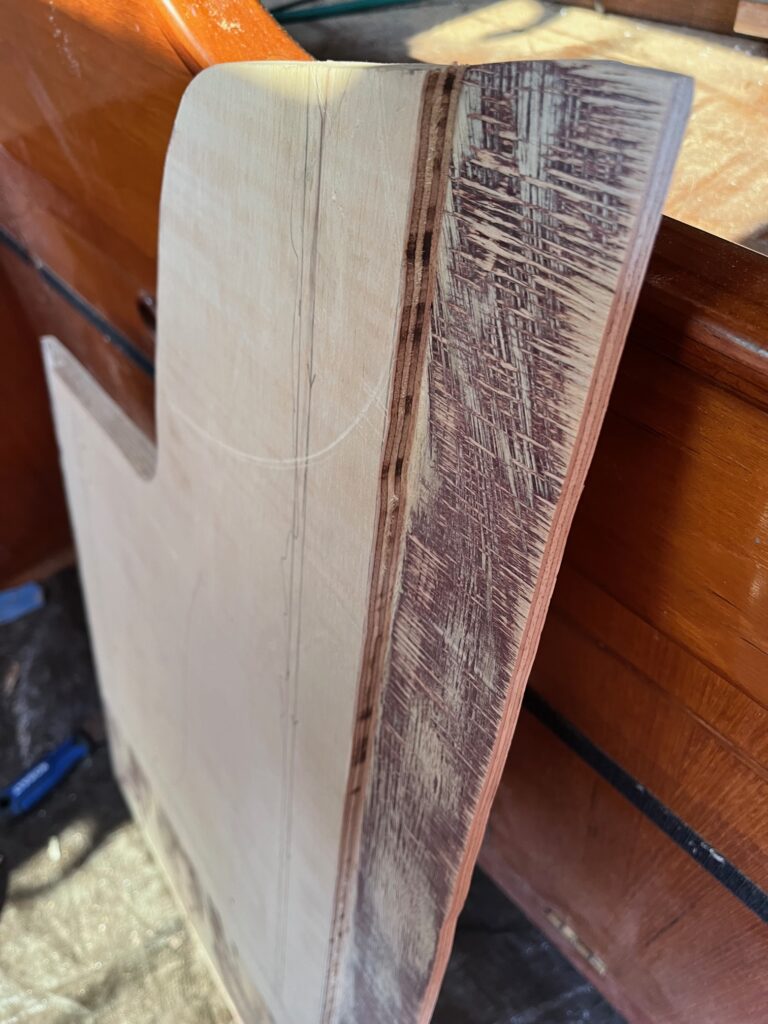
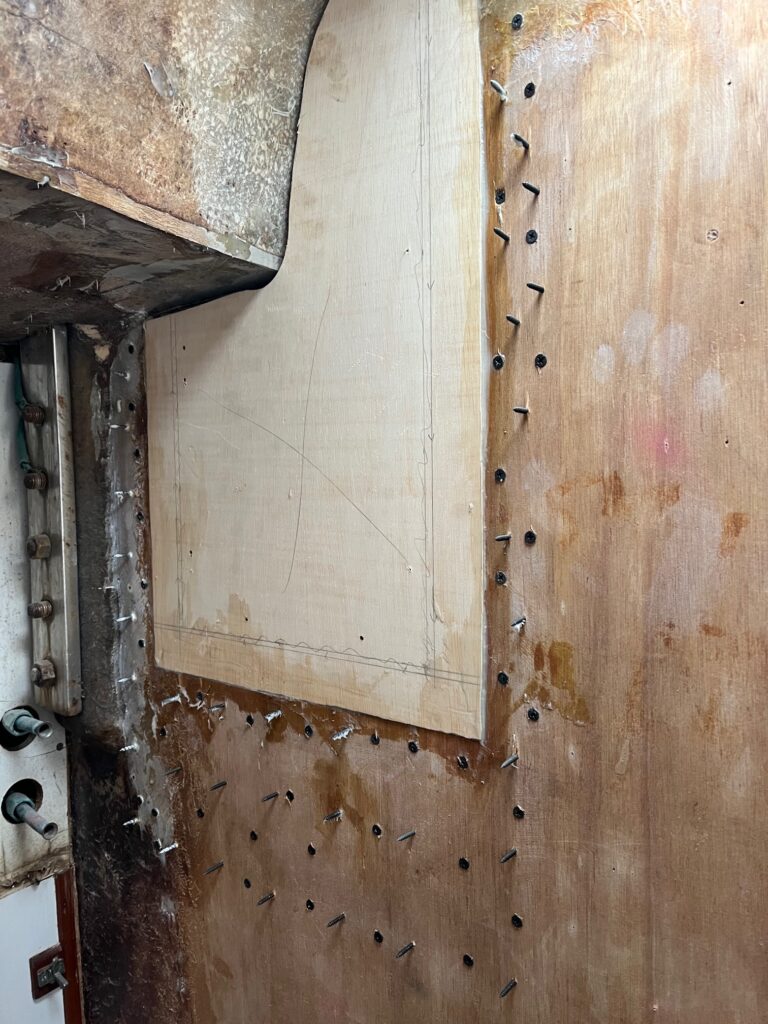
Now, sometimes, when there’s a leak, the water gets into other things. Like, say, a bulkhead. As you read in my last post, we had bulkhead rot as well. And the bulkhead is one of the structural ones-it sort of holds the boat together. It’s important. We had to rebuild that as well. To rebuild the bulkhead, after removing the rotted section, we created a scarffed patch, inserted it into the hole we made, and glued it all together. The last step there will be to fiberglass over the patched section for additional strength, make it look smooth and pretty, and paint it.
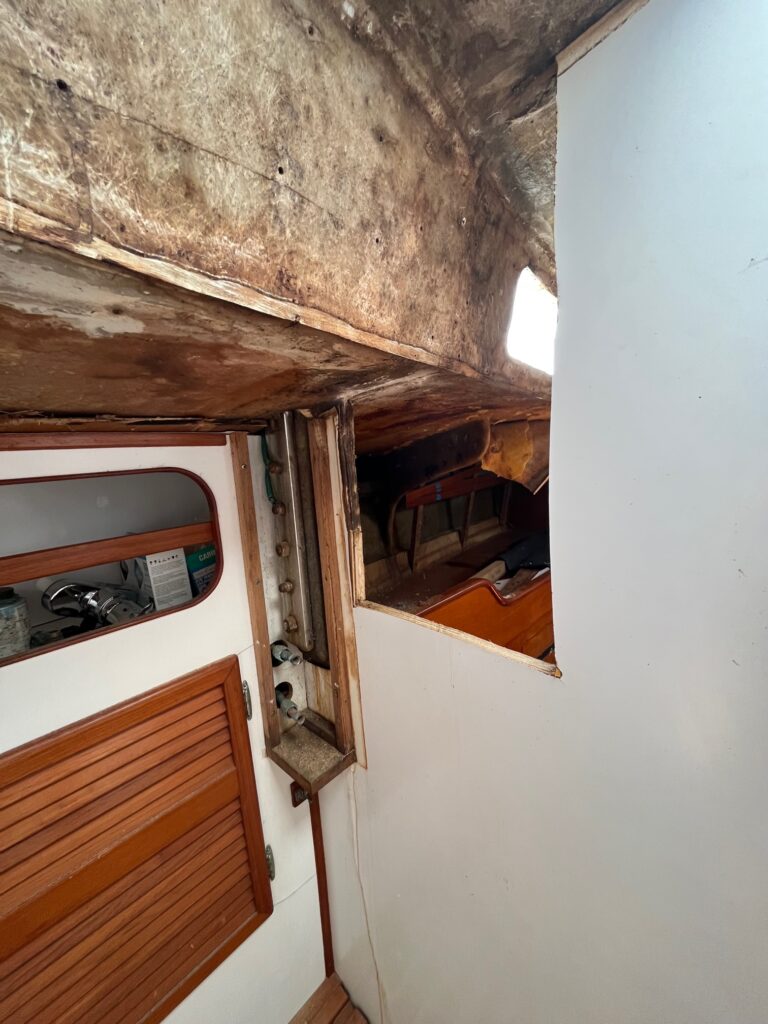
For those interested, a scarff is a way of joining two pieces of wood that increases the surface area that connects the two pieces. I used a router the create the scarff on both the existing bulkhead and the patch-not bad for a guy that had never used a router before!

With these projects completed, hopefully the boat is now dry-minimal leaking. We’ll move on to things that are more fun. Maybe.
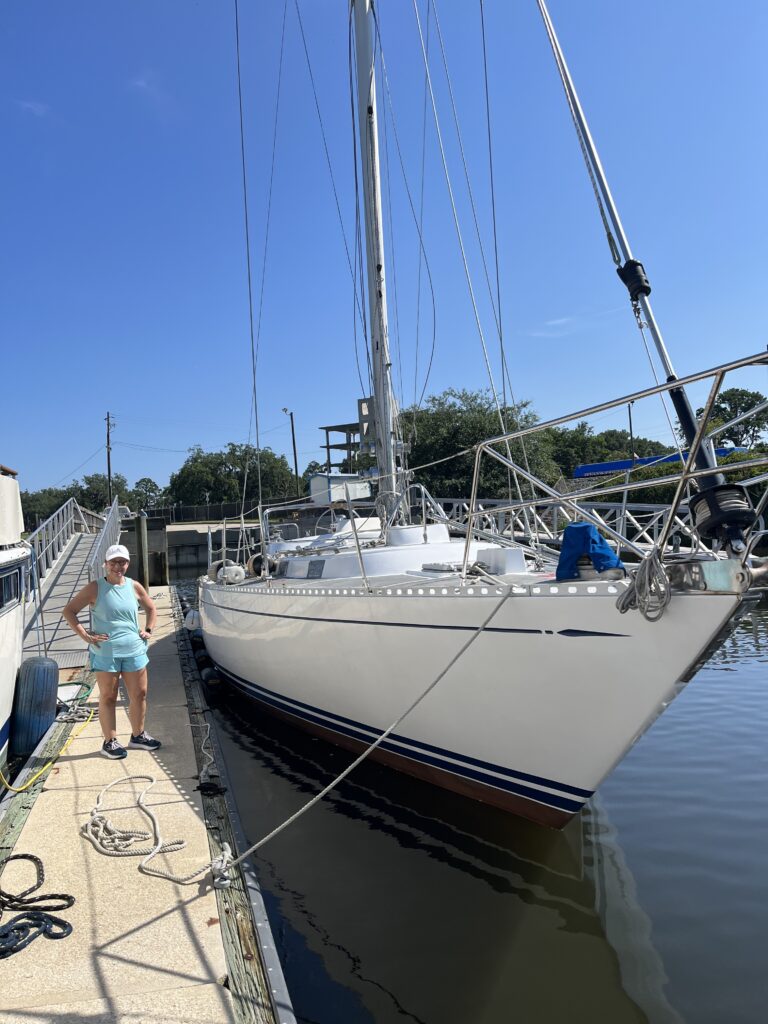
For those not following on social media, Meraviglia is now afloat! We splashed on 7/6. WooHoo!!
July 16, 2023 at 3:29 pm
Are you guys living on the boat while you fix her up?
Also, love following along with all your progress! It’s awesome!
July 17, 2023 at 8:38 am
Thanks! We have been staying at an AirBnB locally so far (3 weeks) but we move on board on Friday. It’s gonna be tough-she is still all torn up inside.
July 18, 2023 at 4:47 pm
Good luck!!!!!
July 18, 2023 at 10:58 pm
Thanks, Sue!